What Pulpo SVG is
Pulpo SVG is an SVG editor for the phone that is built around a project folder, not a single file, and that treats files made in Inkscape as something to preserve rather than to convert.
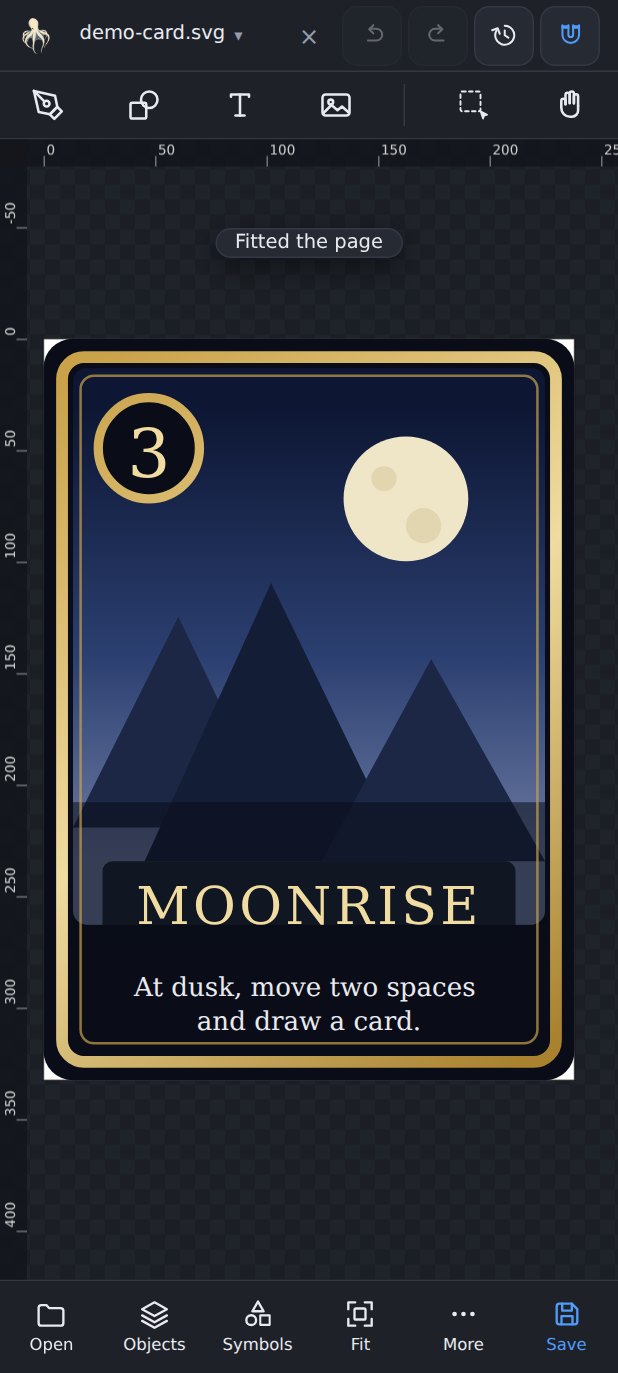
Two decisions explain most of how it behaves:
- It is project-oriented. A card game, a set of icons or a booklet is many files sharing one base template, linked images, symbols, palettes and fonts. Pulpo mounts the folder that holds all of it, so relative links keep working instead of breaking the moment you open a file on your phone.
- It preserves what it does not understand. When you save, only what you actually changed is rewritten. Layers, labels, node types, gradients and units survive the round trip, so a file can go to the phone and come back to Inkscape still being the same file.
It runs as an Android app, from Google Play.
Mount your project
This is the first thing to do, and the one that makes everything else work. Mounting grants the app access to one folder on your device — the app never goes looking outside it.
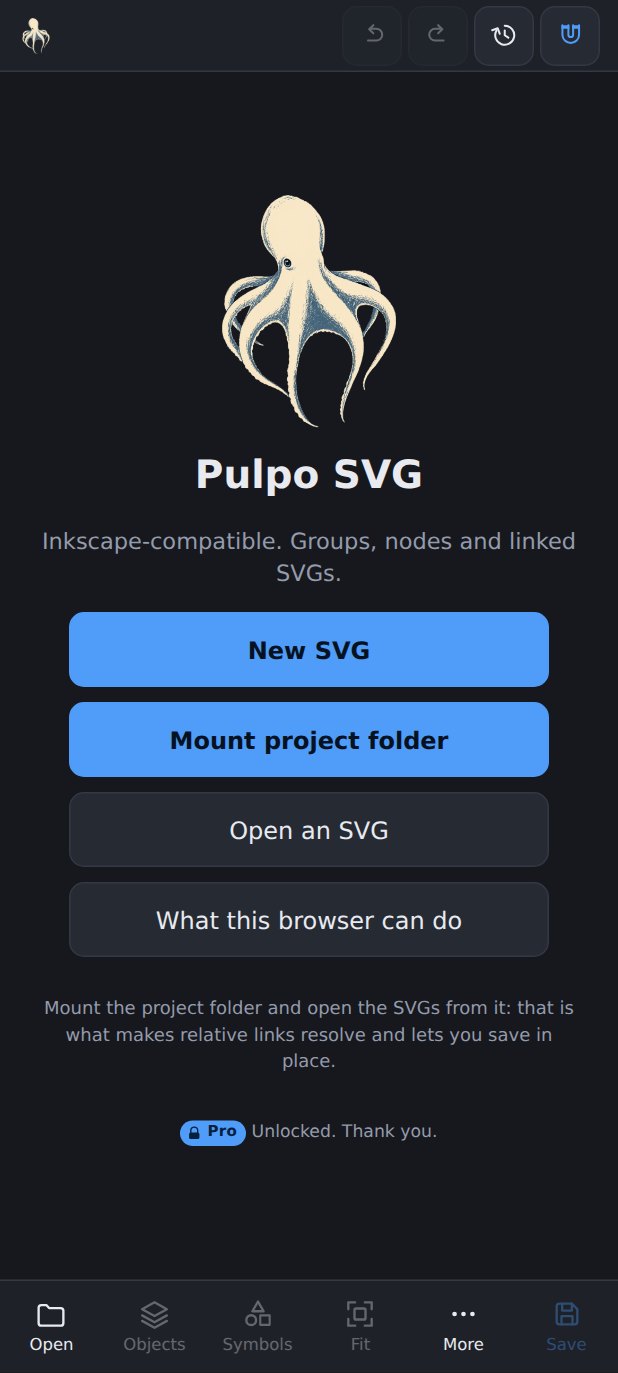
- Open the app and press Mount project folder on the home screen.
- Pick the folder that contains your SVGs and everything they refer to.
- The app indexes it once and tells you how many items it found.
Choose the folder that is the root of the project, not the subfolder
with the file you want right now. If a card in Exp1/Cards/ links an
image in Art/, both have to be inside what you mounted for the link
to resolve.
The folder permission is granted once and never asked about again, it survives restarting the phone, and files go out to other apps through the system share sheet.
Finding your way around
There is a canvas, a title bar, and panels that slide over the canvas. The bar at the bottom opens the panels you use most — Objects, Symbols, Tools, Fit — and More holds the rest; Save is always at the end. The octopus icon takes you back to the home screen and your project files without closing anything; tap it again to return to your document. The first time you open the app, a hint points at it.
A yellow dot on More means something is waiting for you: fonts that do not come from the project folder, or project files not yet in your last GitHub commit. Follow the dot and it leads to the panel that explains it.
Panels you will use most:
| Panel | What it is for |
|---|---|
| Objects | The tree of everything in the document, with Inkscape's own names. Visibility, locking, stacking order, grouping. |
| Properties | Numbers for the selection: position, size, rotation, fill and stroke. |
| Node | The exact coordinates of the selected node, typed rather than dragged. |
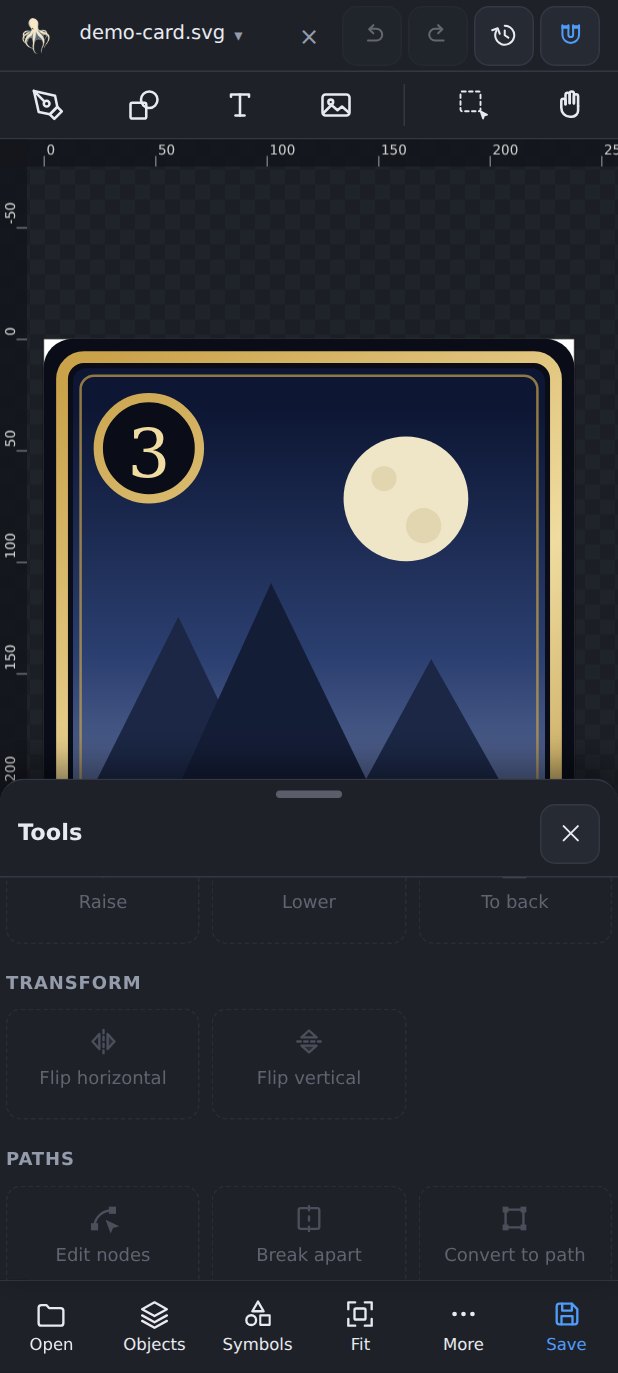
| Tools | Every action that can be applied to the selection, grouped by kind: edit, arrange, transform, align, path, image, symbols. |
| Document | Page size and unit, the pages of a multi-page document, and what the file contains. |
| Symbols | The project's symbol library and the symbols defined in the open file. |
| Palettes | The colours of the project, ready to pick. |
| Project files | Browse, search, open and delete the files of the mounted folder. |
| Links | Every linked image and SVG, and whether each one resolves. |
| Fonts | Which fonts the file asks for, and which one is actually being used. |
| Export, Share | PNG and JPEG, and handing a file to another app. |
| GitHub | Commit, push and pull the mounted project. |
| Settings | How the app behaves: gestures, snapping, rulers and grid, stylus shortcuts, language. |
| About | Version, what changed lately, diagnostics, and the form for reporting a problem. |
Moving around the canvas
Two fingers always pan and zoom, even on top of an object. One finger on an object drags it; on empty space it pans. When a crowded card leaves no empty space to grab, the canvas bar has two tools that take the canvas over:
- Hand — any drag moves the view and nothing in the drawing can be touched by accident.
- Zoom — drag a box over the detail you want and it fills the screen. With it on, a tap zooms in twice as close where you tap and a long press zooms out.
Fit in the bottom bar fits the page; press it again with something selected to fit the selection, and once more in a multi-page document to see every page at once.
Drawing with a stylus
A stylus is a single point of contact, so there is no pinch. Turn on the zoom slider in Settings for a strip above the bottom bar that zooms in and out without pinching.
If your stylus has a side button — like the S Pen — you can give it shortcuts in Settings → Stylus shortcuts, one for each way of using it:
- Press the button once to toggle hand, zoom, box selection or snapping on and off, or to fit or undo.
- Hold the button to use hand, zoom, selection or snapping only while you hold it; when you let go, everything is back as it was. Holding it with snapping inverts it for that moment.
Holding the button with the pen tool on lets you move the view in the middle of a path without ending it.
On tablets and unfolded foldables the app rotates, so you can work in landscape. Phones stay in portrait.
Documents and tabs
You can keep several documents open at once and copy between them — which is the point when you are laying out a series and want a piece from the previous card. Copy in one tab, switch, paste in the other.
Opening a file reuses an empty tab if there is one, so you do not end up with unnamed entries in the document list.
An SVG anywhere on the phone can be opened from the system: tap it in your file manager, in Drive or in an email and pick Pulpo SVG in the Open with list — Share with works too. It arrives as a loose file: it has no folder, so its linked images and symbols only resolve once you mount the project they belong to. When the app that sent it allows writing, saving goes back to that same file; when it does not, Pulpo asks you where to save instead of leaving the copy somewhere you did not choose.
Saving a document that has no project folder opens the Android folder picker, so the file always ends up somewhere you chose and can find again.
Objects and structure
The Objects panel is the document's tree, showing the labels Inkscape gave things rather than raw ids. From there you can:
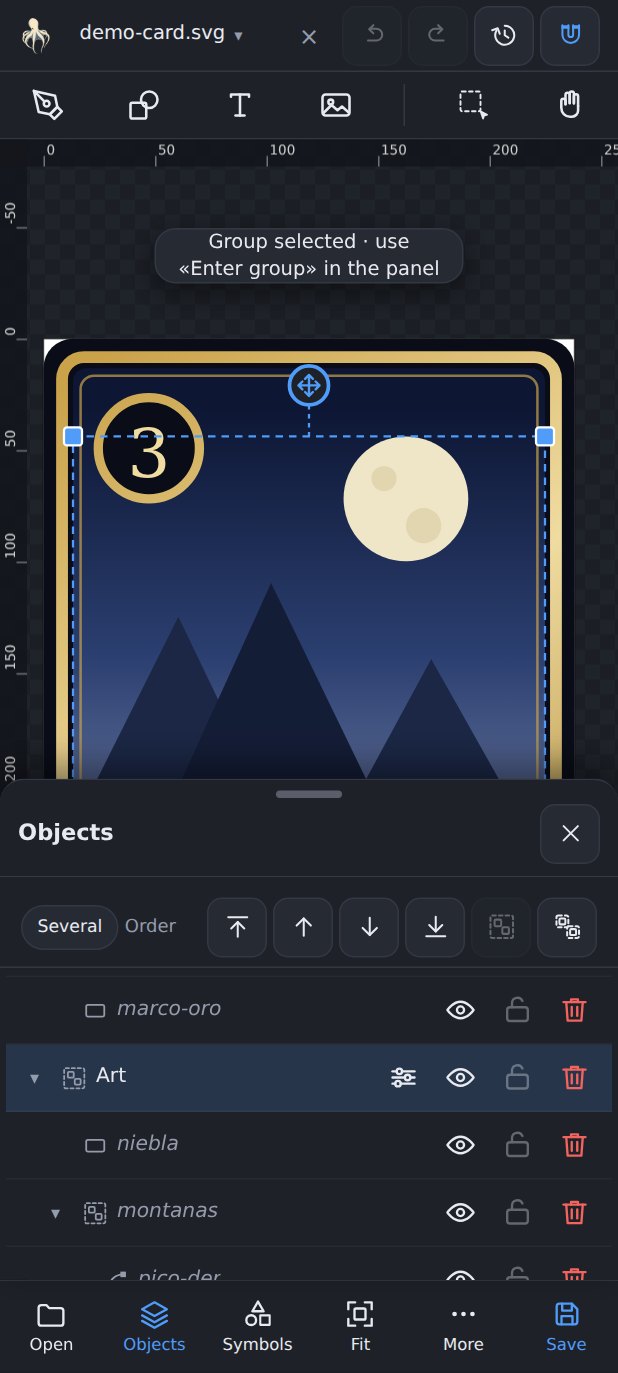
- Hide , show and lock objects and layers.
- Change stacking order ( ), group and ungroup , move something into another group.
- Rename , duplicate and delete .
- Copy and paste — including between documents.
Long-press a row to move that object: then tap where it should go — above another object, or inside a group. Groups can be collapsed, and stay collapsed when you close and reopen the panel.
On the canvas, a tap selects the whole group; a double tap goes one level down into it. Tap again on overlapping objects to cycle through what is underneath (turn it on in Settings). The Select tool lets you drag a box to select several objects, and a long press adds to the selection.
Whatever you select on the canvas is shown in the tree: the list scrolls to it, and if it is inside a collapsed group, the group opens.
Move, rotate, scale
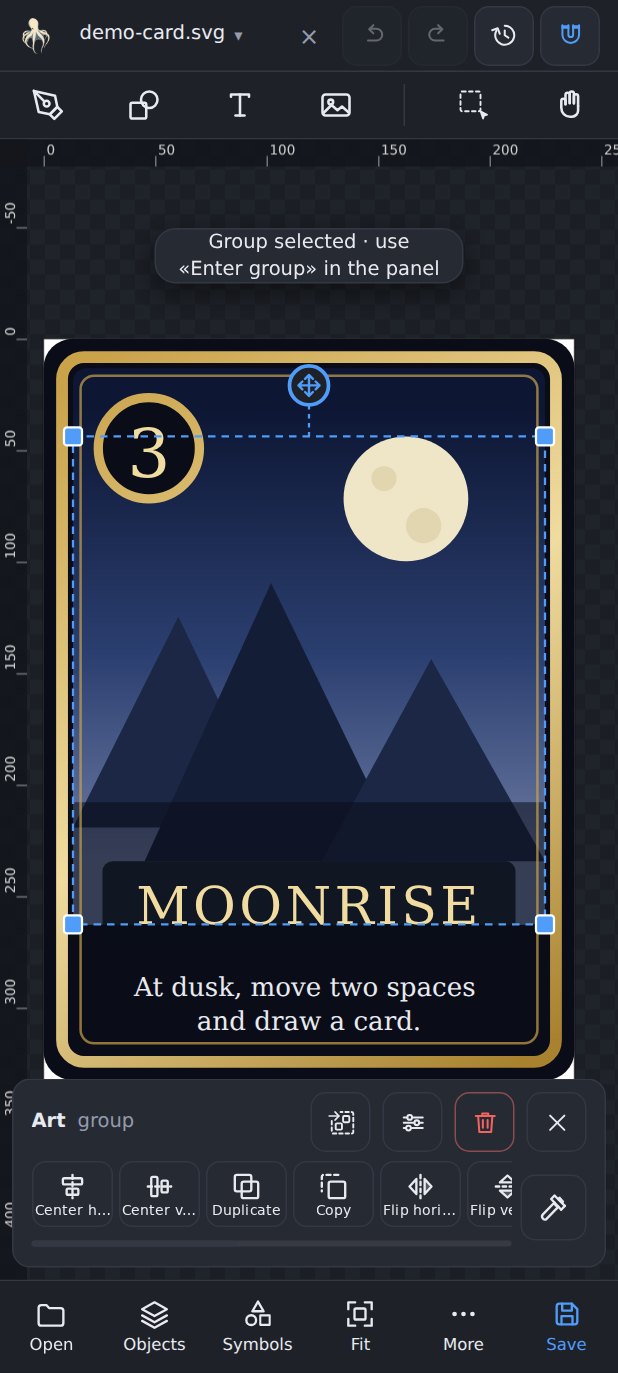
Selected objects get handles: drag to move, drag a corner to scale, and use the rotation handle to turn. Rotation snaps every 45°, and moving snaps to guides when you get close.
When a drag is not precise enough, the Properties panel takes typed numbers in the document's own unit — millimetres if that is what the file uses. Flip and align and distribute ( ) are in the selection bar and the Tools panel. Aligning is relative to the selection by default; Relative to in the Tools panel switches it to the page, and the app remembers your choice. With a single object selected it always aligns to the page.
Paths and nodes
Node editing works on several paths at once, which matters when a shape is really three overlapping pieces.
- Drag nodes and their handles; insert and delete nodes.
- Set the node type — corner , smooth or symmetric — exactly as Inkscape means them.
- Merge two nodes , split one , join with a straight segment , delete a segment .
- Joining two nodes from different paths combines them into one path, like Inkscape does.
Your node types and curves are preserved when you reopen the file in Inkscape. Cutting a path separates the disconnected pieces into individual objects and removes nodes that no longer belong to a segment.
For a node that has to land on an exact coordinate, the Node panel lets you type it.
Combining shapes
The six path operations Inkscape has, keeping curves as curves:
Combine joins several paths into one and Separate splits them apart again. To make a shape with a hole, combine the two paths and reverse the direction of the inner one — the same way it is done in Inkscape.
Drawing and tools
The drawing tools are in the canvas bar. Magnetic snapping helps line new geometry up with what is already there; long-press its button to choose what it snaps to — the page, other objects, the grid, angles.
A rectangle or an ellipse is still a shape, not a path. When you need to edit its nodes, use convert to path first — the same order of operations as on the desktop.
The Tools panel lists every action, grouped by kind; the ones that apply to what you selected light up. The pin puts a tool first in the canvas bar.
Paste from another app sits next to Copy and Paste: an image you copied elsewhere comes in embedded, and copied text comes in as text. Paste style copies the look of one object onto another.
Pages
Multi-page documents from Inkscape are shown as what they are: every page with its frame and its name. Tapping inside a page makes it the active one, and width, height, aligning to the page, snapping and the grid all refer to that page. The page bar steps from page to page.
The Document panel sets the page size and the document unit, and adds, renames and removes pages. A page is a frame, not a box: removing it leaves the drawing where it is, unless you ask it to take the object on top with it. You can reopen the saved document in Inkscape and continue working with its pages.
Some other SVG viewers may show only the first page. To share every page as an image, use the option to export all pages in the Export panel.
Fill, stroke, gradients
Fill and stroke are set from Properties. Gradients are edited directly on the canvas with handles you drag where you want the colour to go.
Gradients stay compatible with Inkscape. If several objects share the same gradient colours, changing those colours updates them together. You can still position the gradient separately on each object.
Palettes
The Palettes panel keeps the colours of the project within reach. You can extract a palette from the artwork you already have, so the colours you are using become the colours you can pick.
Imported palettes can be deleted with the bin in the list; if the palette is saved in the project, its file goes too. The basic palette is always kept.
.gpl palettes — the format Inkscape and GIMP use — and
extracting a palette from a drawing.
Images and linked SVGs
When you place an image, Pulpo asks the question that matters:
- Embed it — the image travels inside the SVG. Always available, makes the file bigger, and the copy inside stops following the original.
- Link it — the SVG points at a file in the project folder. Keeps files small and lets one image serve many cards, but needs a mounted folder and a document saved inside it. Linking copies the image next to the document without overwriting anything already there.
Images come in at their own aspect ratio and real size, not stretched into a generic box.
The Links panel lists every linked image and SVG and tells you which ones resolve. From there you can view them, re-link a broken one, reload one that changed on disk, embed a linked file or extract an embedded one.
An image can be cropped by dragging the corners of its frame, and the crop removed later. A linked SVG can be turned into editable objects , staying exactly where it was.
Text and fonts
Text has family, size, letter spacing and line spacing, and its content is edited in a single field even when it spans several lines. Inkscape's auto-wrapped text works too, with a handle to change the width of its box. New documents use Inter.
Fonts are where a phone usually lies to you: it silently substitutes what it does not have and the layout quietly shifts. The Fonts panel says it out loud — which fonts the file asks for, which one is actually being used for each, and a button to adopt the substitute so the file states what it really uses.
The reliable fix is to put the real font files in the project folder; they are
then found the same way linked images are. The Text panel can save
them there for you — a bundled font, one from Google Fonts, or a TTF/OTF you pick —
into the project's fonts folder, ready to install on your computer
and use in Inkscape too.
Symbols
Symbols are your library of reusable pieces for the project: a frame, a mana icon, a rarity badge. Insert one many times instead of copying it many times.
The Symbols panel has two lists: Project, the files in the
project's symbols folder, and Document, the symbols defined
inside the open SVG. Tap one to insert it. A symbol keeps its real size wherever it
goes: one made at 10 mm comes in at 10 mm, whether the document measures
in millimetres, inches or pixels.
To create one, select what it should contain and use Convert to symbol
. It is written to symbols/<name>.svg. Reusing a name asks
first, because every copy already placed will show the new drawing — which is also how
you correct a symbol. From a placed copy, Edit source symbol opens its
file, and Convert to editable object turns that copy into ordinary objects.
Effects
Effects change the colours and appearance of a raster image, such as a PNG or JPEG. Select the image and open Tools → Image → Effect. Choose an effect, adjust its controls and check the preview. Press Apply to keep the result, or Cancel to leave the image unchanged. Linked SVGs cannot be processed as image effects.
Add your own effects
You can write your own effects as JavaScript files or use scripts shared by someone you trust. Use a plain-text editor to create or change a script, then save it in your project folder.
- Download the effect template and
save it as a
.jsfile. Change itsidandnameto give your effect its own identity. - Create an
effectsfolder directly inside the project folder you mount in Pulpo. Put the script there, even if your SVG is in a subfolder. - Mount the project, or open Project files → Reindex if it is already mounted. Do this again whenever you edit or add an effect script.
- Select an image and open Tools → Image → Effect. Your script appears with a From project badge.
The guide to writing your own effects is part of this user manual. It includes the complete template, explains how to process pixels and add sliders, colour pickers and other controls, and helps you troubleshoot scripts that do not load.
You can embed the result in the SVG or save a separate PNG or JPEG next to it and link that file. Saving a separate file requires a saved SVG in a writable project folder. Undo restores the previous image in the document, but does not delete or restore a separate file you wrote.
Export and share
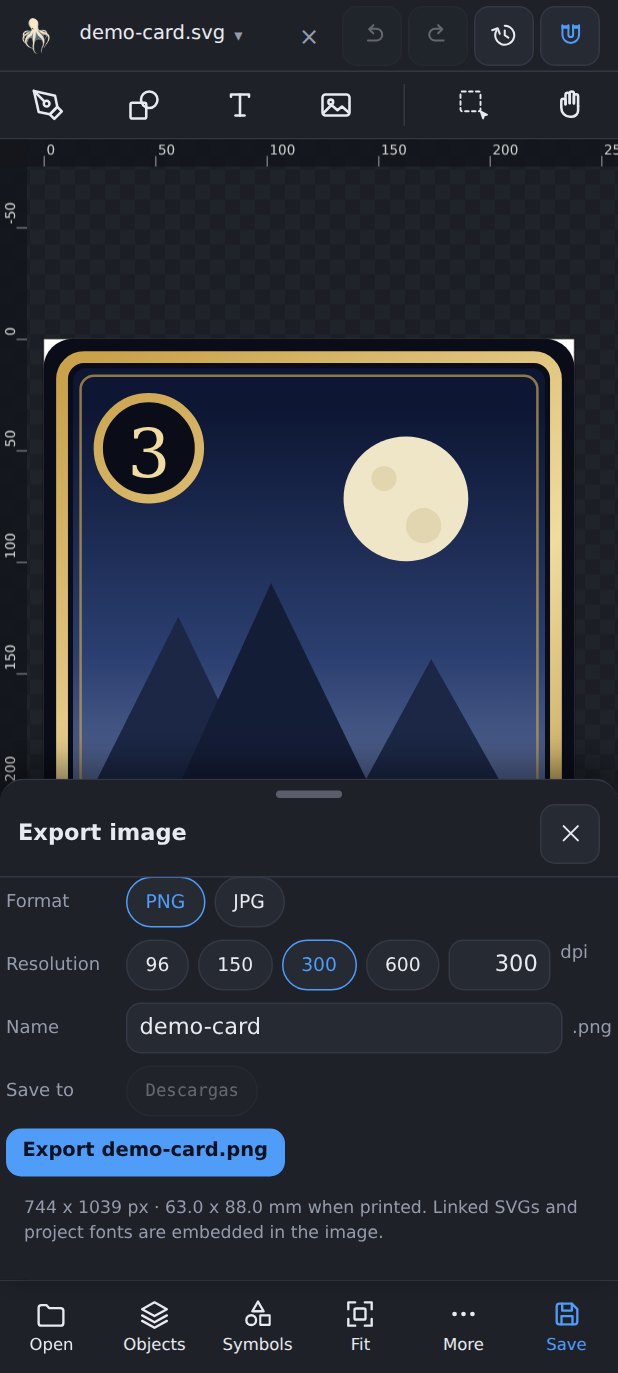
Export image writes PNG or JPEG at the dpi and physical size you choose, defaulting to the folder of the SVG you are working on. Fonts and linked SVGs are baked into the image, so what you export is what you saw. The destination can be any folder on the phone, chosen with the Android picker — Downloads included; choosing it does not change the mounted project.
You can export the whole document or only the selection, cropped to it, like Inkscape's export selection. In a multi-page document you can export the current page or all of them, one file per page.
Share hands the file to any other app through the system picker — messaging, cloud storage, a printer. Sharing the selection only works too. WhatsApp does not accept SVG files at all, even though it appears in the picker: share a PNG or JPEG there.
Saving, opening and sharing SVG files is free, always. Your work never stops being an ordinary SVG file on your own device.
GitHubPro
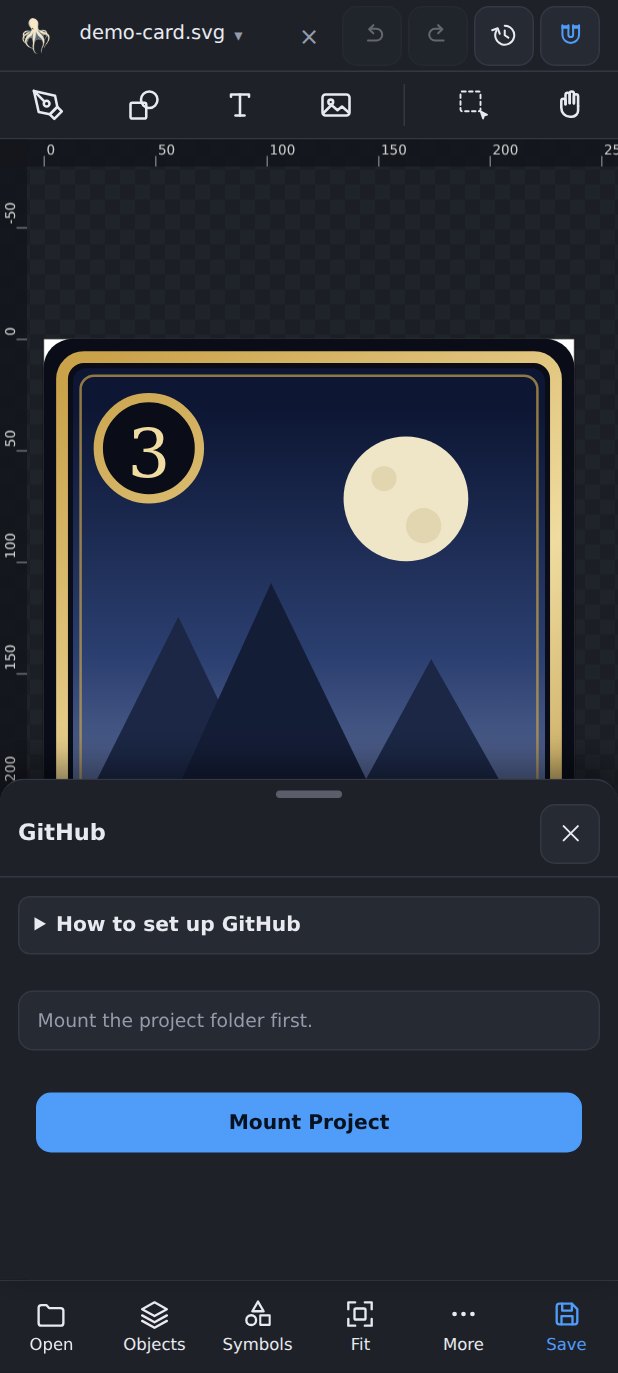
The GitHub panel links the mounted folder to a repository you already own, and lets you review changes, commit, push and pull from the phone.
Connecting
- Mount the folder that is the clone — or an empty folder, to clone into.
- In the GitHub panel, press Create token on GitHub. Your browser opens.
- Sign in and make sure Fine-grained tokens is selected. Press Generate new token.
- Name it something like “Pulpo SVG” and pick an expiry date.
- Under Repository access, choose only the repositories Pulpo may touch.
- Under Permissions, grant Contents: Read and write. Metadata is added automatically.
- Generate the token, copy it, paste it into the app and press Connect GitHub.
The panel then names the repository and branch it read from the folder, and all that is left is to press Link project. Linking downloads nothing and overwrites nothing. If the folder is not a clone or its branch does not match the linked project, the panel explains what needs attention. If you changed branches in another app, return to the branch linked in Pulpo before continuing. If the folder has no active branch, select one in your Git app first.
Cloning from the app
No Git app on the phone? Create an empty folder, mount it, and open the GitHub panel. Since the folder is not a clone yet, the panel offers Clone a repository here. Pick one of the repositories your token can reach and a branch (the main one is preselected), then press Clone here. The console shows each file as it arrives, and when it finishes the folder is linked and ready to work — there is no separate Link project step.
- It downloads the latest version of the branch, without older versions of the files. You can start editing, committing, pushing and pulling as soon as the download finishes.
- The folder must be empty. If it holds anything that is not part of the repository, nothing is written and the console says which file is in the way.
- If the connection drops halfway, press it again on the same folder: what already arrived is kept and it carries on from there.
- Up to 3,000 files. Repositories with symbolic links or submodules cannot be cloned from the app; clone those with Git and mount the copy.
Working
Changes lists what differs from the last commit. Tick what belongs in this commit, write a message, and press Commit — that creates the commit but does not publish it. Push publishes it, and refuses if GitHub moved in the meantime so nothing is overwritten by accident. Pull brings changes down, saving a backup before writing anything, and asks you to pick a side for any file that changed in both places.
A console shows what each operation is doing, file by file, and how it ended.
Continue working on another device
You can use the same project folder with Pulpo and a Git app on your computer. After pushing or pulling in Pulpo, changes that are already saved in a commit should not appear as new, uncommitted edits in the other app.
Changes made on the GitHub website can be brought into Pulpo with Pull too. If another Git app has unfinished work or has changed the branch in your folder, read the message in Pulpo's console and finish that work in the other app before continuing.
Undo and recovery
- Undo and redo. Use Undo to reverse an edit and Redo to restore it.
- Automatic copy. Unsaved work is copied aside every few seconds. If the app is closed unexpectedly, it offers the work back the next time it opens.
- Explicit saving. Writing to your folder happens when you ask for it, or when you turn on automatic saving to disk.
One thing worth knowing about GitHub: it only ever sees what is written to the folder. If a document has unsaved changes, the panel says so; a commit includes only what is already saved. Pull and Discard stay blocked until you save, because those do rewrite files.
Settings
Settings holds the preferences not everyone wants:
- Language of the interface — English or Spanish.
- Selecting: cycle through overlapping objects, and whether a tap takes the whole group or the piece under your finger.
- Gestures: how long a long press takes.
- Stylus shortcuts: what pressing and holding the stylus button do (see Drawing with a stylus).
- Number fields: how much the arrows step.
- Snapping: on or off, and what it snaps to.
- Canvas: rulers, a grid and its spacing, and the zoom slider.
- GitHub: commit and push in a single step.
- Tips: a tip each time the app opens.
Settings are saved on the device and, with a project mounted, also in its
options.json, so they travel with the work. When you mount a project,
its own settings win.
Free and Pro
The free version is a real editor: open, edit and save your SVG files, with no watermark and no time limit, with up to two documents open at once.
Pulpo SVG Pro is a single payment, not a subscription, and adds:
- Unlimited documents open at once
- Exporting and sharing PNG and JPEG
- Symbols: your own library of reusable pieces
- Effects on images, including ones you write
- Imported
.gplpalettes and palettes extracted from your artwork - Google Fonts
- GitHub for mounted projects
It is tied to your Google account, so you get it back when you reinstall or change phones.
When something looks wrong
A linked image does not appear
Open Links: it will tell you whether the path resolves. The usual cause is that the image lives outside the folder you mounted — mount the parent folder instead. If the file moved, re-link it from that same panel.
The text looks different from the desktop
Open Fonts. It names the font the file asks for and the one being used instead. Copy the real font file into the project folder, refresh, and it will be found; or adopt the substitute so the file says what it actually uses.
A symbol comes in much bigger than it was
Symbols created in a millimetre document before version 1.1.7 were saved about 3.8 times too large. Create it again from the same objects, with the same name, and accept replacing it.
Files I changed from a computer are not showing
The folder index is built when you mount. Refresh from Project files after changing things from outside the app.
“This kind of mount cannot be linked to GitHub”
GitHub needs a folder with a lasting identity — a mounted folder, not a single file opened on its own.
Something else
About → Support has a form for reporting a bug or asking for a feature. It sends the description, the version, and your email only if you tick the box. Your document is never attached. The same panel has a diagnostics screen that measures what your device actually allows, which is the first thing worth checking when mounting a folder misbehaves.